You just finished a massive holiday dinner. The glazed ham was a hit, but now you’re staring at a skeletal remains of a bone sitting on a greasy platter. Don't you dare throw it away. Most people toss that bone or maybe give it to the dog—which, by the way, can be dangerous since cooked bones splinter. Honestly, that bone is the most valuable thing in your kitchen right now. It is pure liquid gold waiting to happen. If you’ve been buying those little cartons of salty, watered-down broth from the grocery store, you’re missing out on a depth of flavor that a simple ham bone stock recipe provides. This isn't just about soup. It’s about collagen, smoky undertones, and that "stick-to-your-ribs" feeling that only comes from hours of slow simmering.
Why Your Homemade Ham Bone Stock Recipe Beats Store-Bought Every Time
Store-bought broth is basically colored salt water. I'm serious. If you look at the ingredients on a standard box of ham base, you’ll see "hydrolyzed soy protein" and "corn syrup solids" way before you see anything resembling actual meat. When you follow a real ham bone stock recipe at home, you are extracting gelatin. That’s the magic word. Gelatin gives the liquid body. It makes the stock feel silky on your tongue rather than thin and watery.
According to various culinary studies on bone broths, slow-simmering connective tissue breaks down collagen into gelatin. This doesn't just taste better; it’s arguably better for your gut lining and joint health, though most of us just care that it makes our split pea soup taste like it came from a five-star bistro. You can't fake that mouthfeel with chemicals. Plus, you control the salt. Most hams are cured with massive amounts of sodium, and if you use a commercial stock on top of that, your final dish becomes an inedible salt bomb. Making it yourself lets you balance the scales.
The Anatomy of a Proper Stock: It’s Not Just Water and Bone
You need more than just the bone. Think of the bone as the foundation of a house. It’s sturdy, but it’s pretty boring without walls and a roof. To get a nuanced flavor, you need the "holy trinity" of aromatics: onions, carrots, and celery. But don't just chop them and throw them in.
The Mirepoix Factor
Some people swear by roasting the bone first. If your ham was already spiraled and baked, you might skip this, but if it looks a bit "pale," toss it in a 400-degree oven for twenty minutes. It kickstarts the Maillard reaction. This is the chemical reaction between amino acids and reducing sugars that gives browned food its distinctive flavor. While that’s happening, prep your vegetables. Don't peel the onions. Seriously. The skins provide a deep, amber color to the stock that looks incredible.
Adding the "Extras"
Throw in some black peppercorns. Maybe a couple of bay leaves. If you have parsley stems—the parts people usually throw in the trash—toss those in too. Garlic? Yes, but smash the cloves first to release the allicin. Don't mince it; it’ll just burn or turn bitter during a long simmer. You want broad strokes of flavor here.
The Step-by-Step Ham Bone Stock Recipe Process
The Submerge: Place your ham bone (and any meaty scraps you saved) into a large stockpot. Cover it with cold water. It has to be cold. Starting with hot water locks in some of the proteins you actually want to extract. You want about two inches of water above the bone.
The First Boil: Bring it to a boil, then immediately drop it to a whisper of a simmer. You should see maybe one or two bubbles popping every few seconds. If you boil it hard, the fat emulsifies into the water and you get a cloudy, greasy mess. We want clear, clean stock.
The Skim: Within the first thirty minutes, you’ll see some gray foam rising to the top. Skim it off with a spoon. It’s just "scum"—denatured proteins that don't hurt you but make the stock look muddy.
The Long Wait: Let it go for at least four hours. Six is better. If you’re using a slow cooker, you can let it ride on low for ten to twelve hours.
The Strain: Use a fine-mesh sieve. If you want it really clear, line the sieve with cheesecloth. Discard the mushy vegetables and the spent bone.
The Chill: This is the most important part for fat management. Put the finished liquid in the fridge overnight. The next morning, a layer of white fat will have solidified on top. Pop that off with a spoon. Underneath, you should have a jiggly, jello-like substance. That’s the gelatin. That’s success.
Common Mistakes That Ruin Your Batch
People get impatient. They really do. They crank the heat because they want dinner in an hour. If you do that, you're not making stock; you're making ham tea. It won't have the body. Another big mistake is salting the water at the beginning. Never salt your stock while it's simmering. As the liquid reduces, the salt concentrates. Since the ham bone is already salty, you might end up with something unusable. Always salt at the very end of the recipe you're actually using the stock for.
Also, watch the water level. If it drops too low and exposes the bone, the bone can start to develop an "off" smell. Keep it submerged. If you need to add more water, add boiling water so you don't drop the temperature of the pot too much.
What to Do With All That Liquid Gold
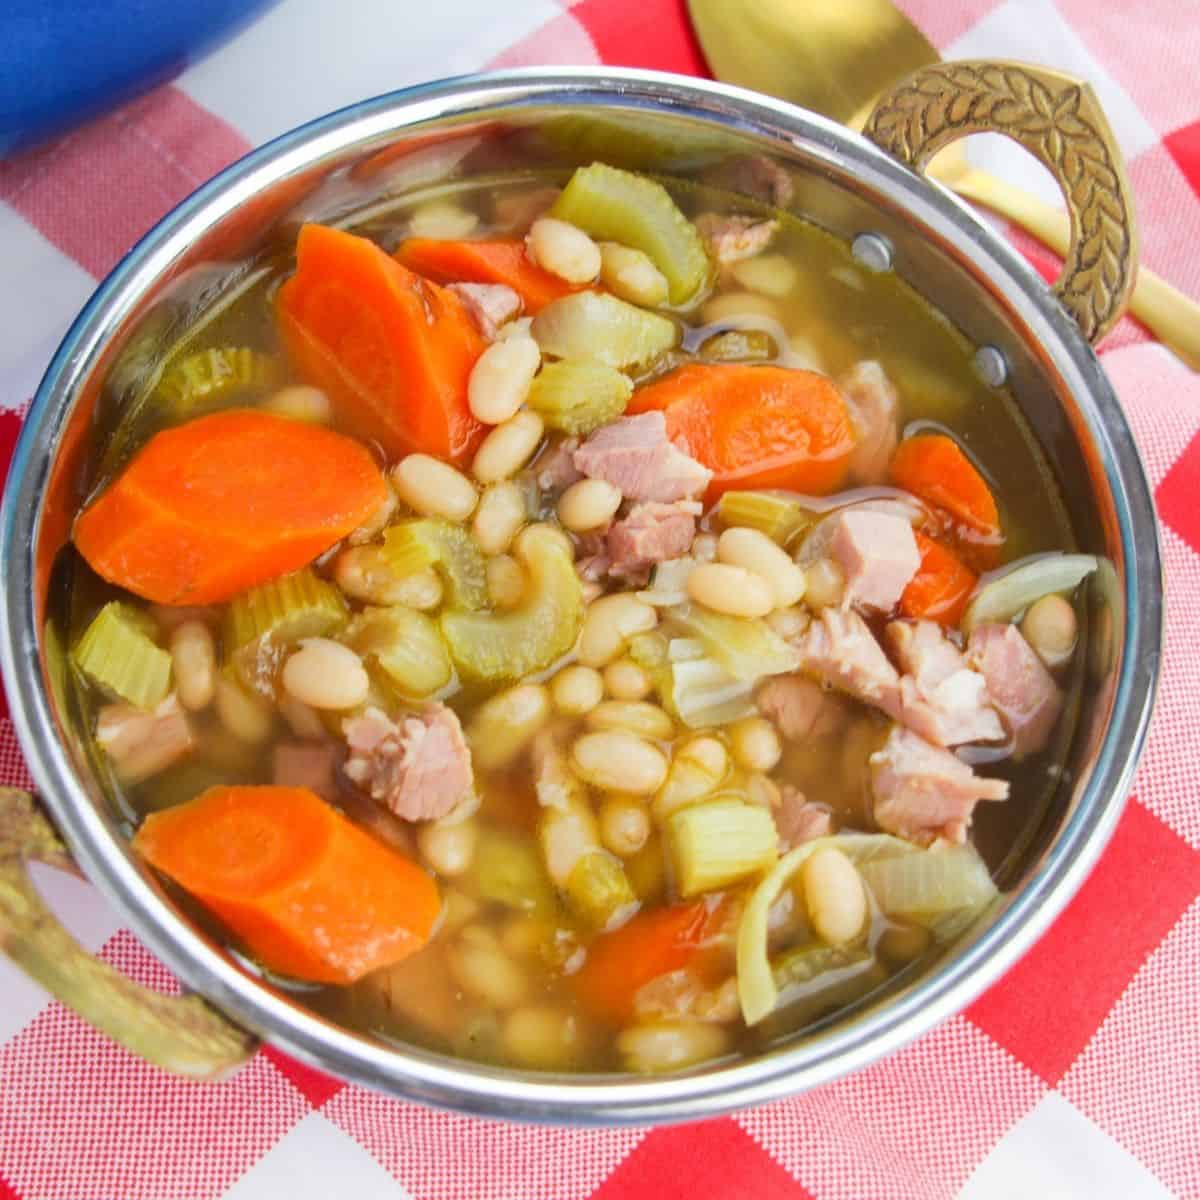
Once you've mastered the ham bone stock recipe, the world is your oyster. Or your pig. The most obvious choice is Split Pea Soup. It’s a classic for a reason. The smokiness of the ham cuts through the earthy, starchy peas perfectly. But don't stop there.
Use it to cook your pinto beans or black-eyed peas. If you've ever had Southern-style greens (collards or turnip greens), they are traditionally simmered in "pot liquor," which is essentially a ham-based stock. Use your homemade version to braise those greens, and you’ll never go back to the canned stuff. You can even use it as a base for a funky, smoky ramen broth if you’re feeling adventurous.
Storing Your Hard Work
Stock doesn't last forever in the fridge—maybe four or five days tops. If you aren't going to use it right away, freeze it. A great tip is to freeze it in ice cube trays. Once frozen, pop the cubes into a freezer bag. Then, when you’re making a sauce or sautéing some vegetables, you can just drop a "ham cube" in for an instant hit of umami. For larger batches, use plastic quart containers, but leave an inch of space at the top because liquid expands when it freezes.
Final Thoughts on the Process
Making stock is a slow-motion act of love for your ingredients. It’s about respect for the animal and your grocery budget. In a world where everything is "instant" and "express," there is something deeply satisfying about a pot bubbling away on the stove all afternoon. It makes your house smell like a home. It turns what was literally trash into a gourmet foundation for a dozen different meals.
To get started right now, check your freezer. If you have a bone hidden in the back from three months ago, pull it out. It doesn't matter if it's a bit freezer-burnt; the simmering process will fix that. Grab some carrots and an onion, and get a pot on the stove. Your future self—the one eating a bowl of incredible soup on a cold Tuesday night—will thank you.
Actionable Next Steps:
- Audit your freezer: Find that leftover bone or start a "stock bag" where you keep veggie scraps like onion ends and parsley stems.
- Get the right equipment: If you don't have a fine-mesh strainer, buy one. It’s the difference between a gritty soup and a professional-grade stock.
- Plan your soak: If you're making beans with your stock, remember to soak them the night before you plan to cook the stock so everything finishes at the same time.
- Degrease properly: Don't skip the overnight chill. Removing that fat cap is the only way to get a clean-tasting stock that isn't heavy or greasy.